WALKED into a music store a few days ago and what struck me was that, despite the doom-and-gloom scenario painted by the naysayers, the shop was still doing healthy business selling CDs. Yeah, who buys CDs now, right? What with digital downloads and stuff… I tell you who – enough people to keep such brick-and-mortar stores in business.
However, it wasn’t the CDs that kept me in the shop for a while longer than I wanted to – it was the stacks of LPs on the shelves and floor. New albums, re-issues, etc… must have been at least a few dozen titles. Five or six years ago, you wouldn’t have seen a single piece of vinyl in such a place. Now, from flea marts to online stores, everybody seems to want a piece of the vinyl action.
I’ve been fortunate enough to introduce vinyl to friends, who have stayed with it for years. Some have mutated into retentive collectors to the point of ignoring all other formats, others have build sizable collections. Obsession or keen interest, it keeps vinyl in business.
Buying LPs isn’t the whole story, though – the bigger headache, actually, is getting a turntable, setting it up and ensuring it is in optimum condition always. Then, there’s also maintaining LPs. Novices often just aren’t prepared for all these things. So here’s a primer for those intending to get into vinyl, for fun or with serious long-term intentions.
You can start off with getting on the internet to look for information on the principles governing a record player’s operation and how to set up a turntable. A caveat here, though – the more you learn, the more intimidating it can get!
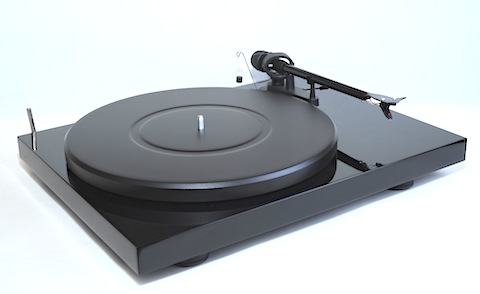
Simply, there are three main elements to a turntable – the cartridge, the tonearm and the plinth (on which the motor is often mounted and where you place the platter). Sometimes, there’s a mat to go on the plinth to provide “grip” between the record and platter.
A number of companies offer playability right out of the box (to a fashion, more on this further down). Such units come in one box, with tonearm and cartridge already in place, and platter packed separately. Instructions are provided in the manual but things aren’t often as simple as one assumes.
If you’re really serious about going vinyl, avoid everything made of cheap plastic. They hardly have used value, should you decide to trade up in future.
Two of the most popular “audiophile” turntable makers over the past two decades (even with vinyl in its ebb during the 1990s) have been UK’s Rega Research and Austria’s Pro-Ject Audio Systems. And there are sound reasons for this – both companies have impeccable pedigrees in this area and know how to knock out a well-designed, budget record player without compromising too much. Importantly, they’re easy to sell off later.
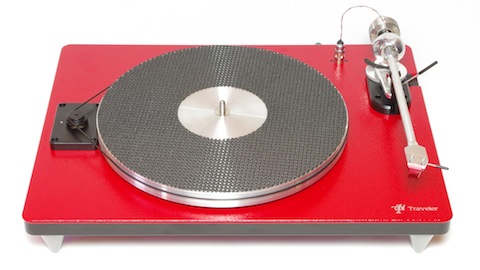
Other more esoteric manufacturers like Clearaudio and VPI also offer reasonably priced turntable packages that will keep you spinning vinyl for years.
But this articles isn’t about which turntable to buy or how to set up one. It’s to tell you that to get the best of vinyl replay from your turntable system, there are a number of accessories that are mandatory buys.
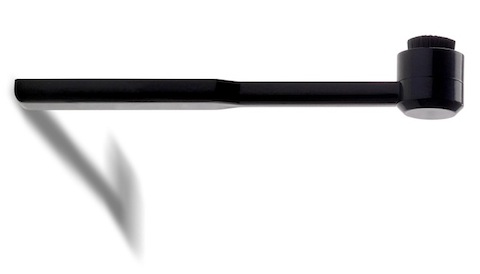
1. Get a stylus force gauge. Downforce – the weight at which the stylus tracks the grooves of a record – is the simplest part to get right when setting up a turntable. You don’t want your cartridge to be digging in too hard or too lightly on the record surface. If you want to dial in the recommended setting, a stylus force gauge will get you very close. The manual type picture here is cheap and effective, but there are costlier electronic units that allow more accuracy.

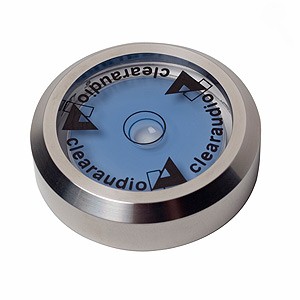
2. A spirit level is recommended to ensure your turntable is in synch with gravity at all points (okay, I kid, almost) … but you want your machine to be as level as possible. Place a spirit level/bubble on the platter and adjust turntable or platform feet till that bubble tells you it’s level. This is how the turntable was set up at the factory.
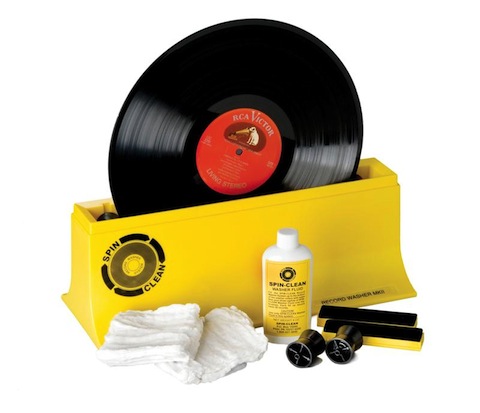
3. A record cleaner is recommended, especially if you frequent flea marts to pick up old records. One of the most basic cleaners is the one shown here. You fill the trough with the provided cleaning fluid, slip the record in and spin it. Brushes in the centre clean the LPs surfaces. Take out and allow to dry. There are more expensive record cleaning with vacuum pumps on board, but they’re all significantly costlier. If you’re starting out on vinyl with a modest budget, this will suffice.
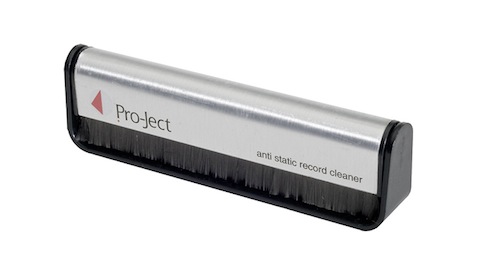
4. An anti-static brush to run over the record surface for removal of dust particles and loose dirt before play. Let the soft bristles run along the grooves to pick up stuff that shouldn’t be there. I use one before spinning each side, every time. How’s that for commitment?
5. The stylus of your cartridge also picks up dirt with each play. You’ll need a smaller brush and a bottle of cleaner – often packaged together – to keep the stylus free of gunk picked up from the grooves.
There are a number of online stores that sell all of the above, some of the more popular ones being Needle Doctor, Acoustic Sounds, LP Gear, Audio Advisor and Dedicated Audio… explore, but do not take this as an endorsement of any one store. It’s quite likely that you’ll find hi-fi shops in your city that carry all of the above.
So don’t jump into vinyl without being prepared – it’s a bit like owning a car, only cheaper, plus you can do the servicing on your own. Keep those grooves clean!


